



 Text / Image to VideoRegenerate
The avatar cat climbs out
Image to video AITurn a still image into a moving clip
Review results, manage assets and access generation history in AI Studio.
Upload an image to guide the opening frame, then describe how the subject and camera should move. Generate a short clip and check how its details hold up during motion.
Each clip below began with an uploaded image, used as the first frame or as a reference. The card shows the source image with the result; open one to load the image, prompt and settings.
Every clip below is a real job run here. Tap one and the prompt and stills load — run it yourself.
Text / Image to VideoRegenerateThe avatar cat climbs out
 Text / Image to VideoRegenerate
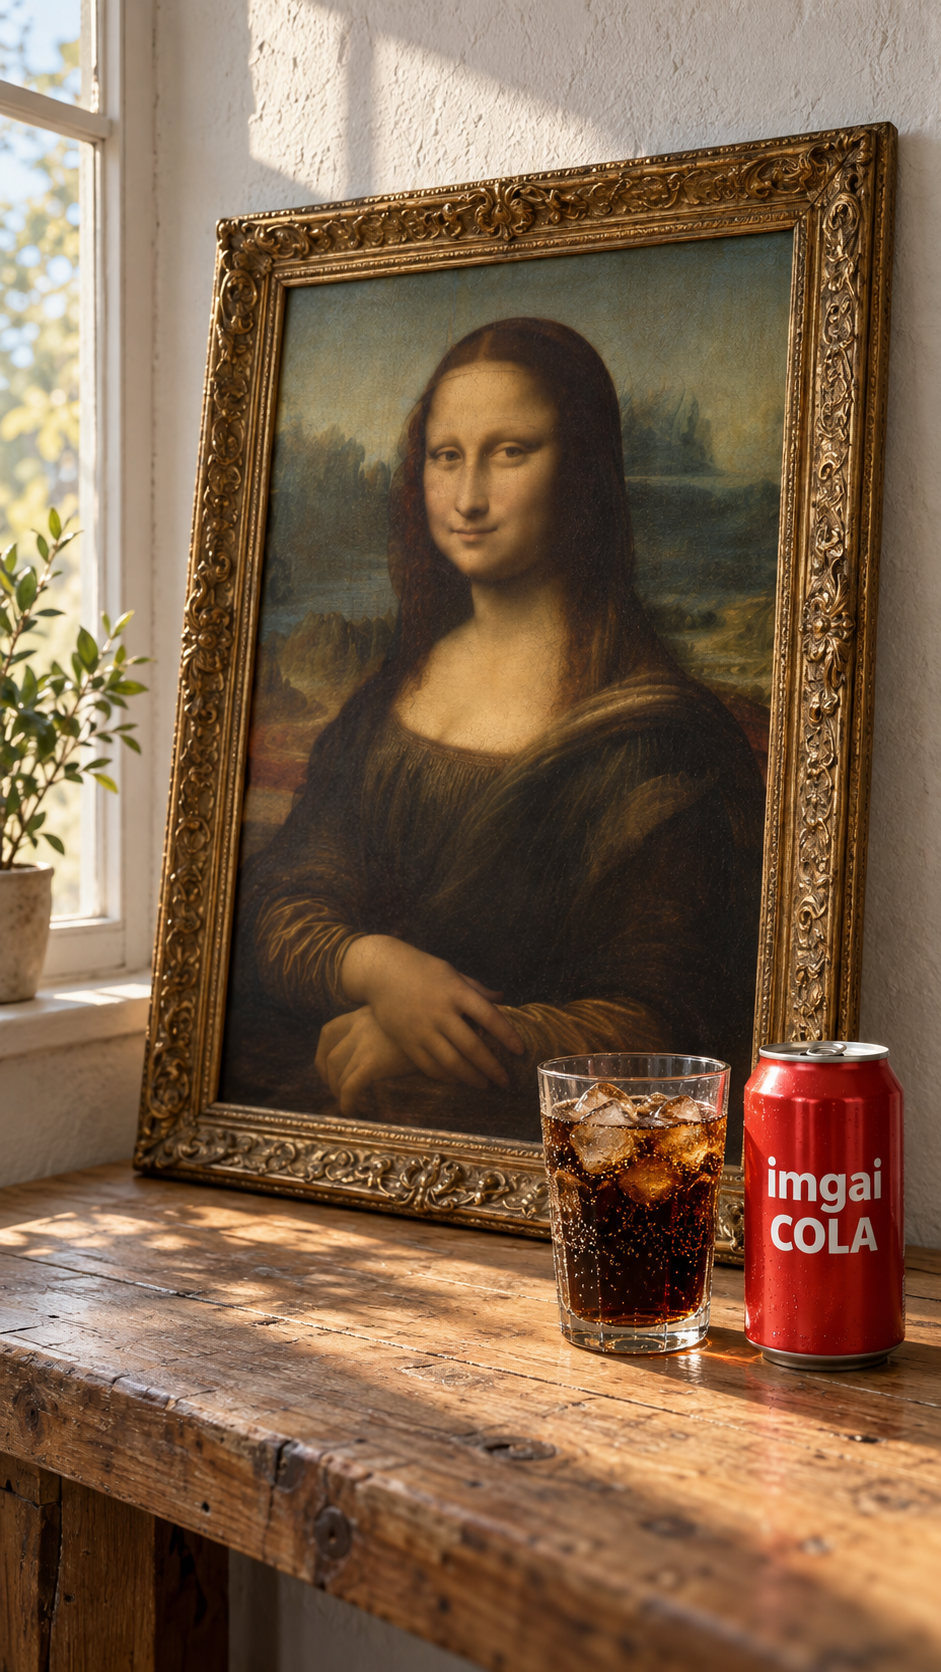
Mona Lisa sneaks a sip
 Text / Image to VideoRegenerate
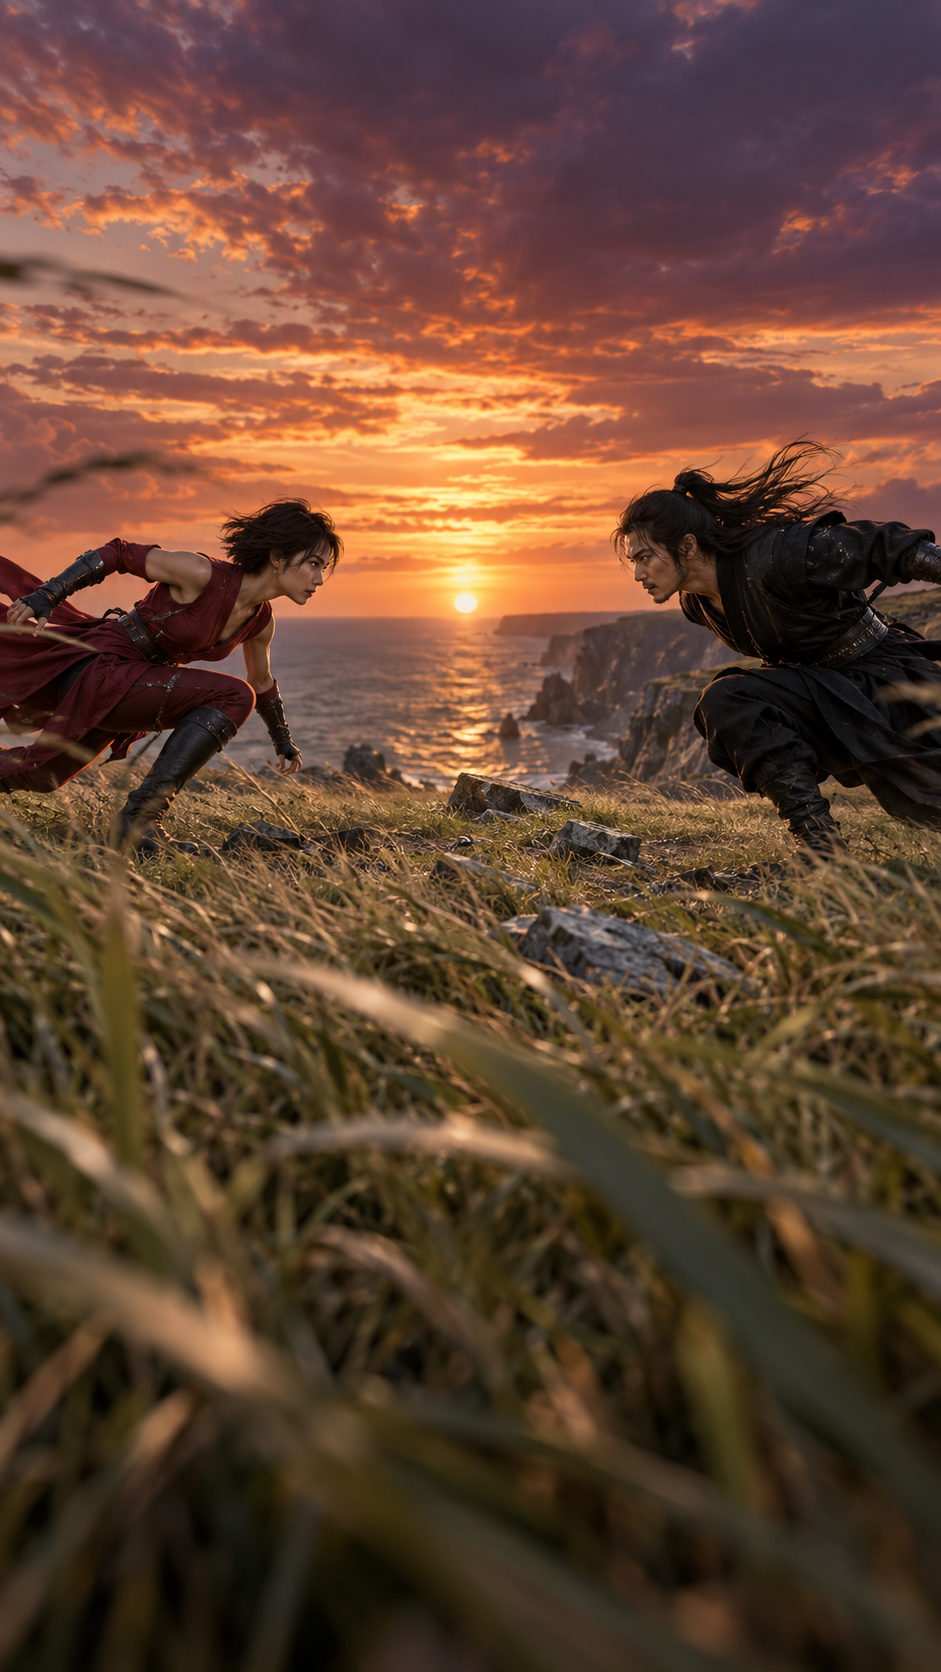
A ten-second duel on the cliff
Text / Image to VideoRegenerateThe avatar cat climbs out
Text / Image to VideoRegenerateMona Lisa sneaks a sip
Text / Image to VideoRegenerateA ten-second duel on the cliff
Start from an image when the look is already decided: a product, a person, a style or a scene you have approved.
Start from a product photo and request a subtle camera move or product action. Check labels, shape and proportions throughout the generated clip.
Give a person or character a head turn, a smile or a walk toward the camera. Upload only images you have the rights to, with consent from the people shown.
Animate a painting, poster or illustration while keeping its brushwork. Say so in the prompt, for example “keeps the oil-paint texture and never turns into a real person.”
Upload an opening and a closing image and describe the change between them: before and after, day to night, a product reveal. Choose the First & Last Frame scenario in the generator.
Compare models by input type, target clip length and output quality. The cards show current options and default costs; check the settings again when switching models.
Video creation
Consider the clip length and resolution, then choose a model. Each price uses the settings shown below.

8-second clips with sound at the best value
Cost at default settings
200 credits
16:9 · 720P · 8s
The fewest credits — test an idea from text first
Cost at default settings
100 credits
16:9 · 720P · 8s
Final cuts that need the best picture
Cost at default settings
1430 credits
16:9 · 720P · 8s

MiniMax
Turn the clip in your head into a first version
Cost at default settings
408 credits
16:9 · 768P · 5s

ByteDance
Leave more room for a longer clip
Cost at default settings
687 credits
Auto · 480P · 5s
ByteDance
Try another model for a different take on your clip
Cost at default settings
472 credits
Auto · 480P · 5s

Wan
Describe the scene, action and camera movement
Cost at default settings
290 credits
Auto · 480P · 5s
Model cards show capability ranges, not a promise that every setting can be combined. Frame inputs and reference media may change the available options. Check the generator for the settings that apply to your clip.
Add a JPG, PNG, WebP or HEIC image as the first frame. For a planned ending, choose First & Last Frame and add a closing image.
Describe subject motion, camera movement and details to preserve. Choose from the aspect ratios, durations and resolutions available for the selected model; Auto is available only on some models.
Track the clip in AI Studio. Compare the opening seconds with your image, check edges and fine details, then download it or adjust the prompt and generate again.
Choose an available aspect ratio close to your source image and crop before uploading when useful. Some models offer Auto; use it only when it appears in the controls. Check the generated framing before downloading.
If the camera pushes in or the subject walks, the frame needs space for it. When the subject is cut off at the edge, the model fills in the missing part, and invented parts are where errors show.
The model already sees the image. Spend the prompt on what moves, in what order, and what stays fixed, for example “the table, wall and frame never change.”
A first-frame image constrains the opening composition. A reference image guides the subject while allowing a new composition. Neither guarantees exact preservation of every detail.
Video generation requires an account and credits. The cost depends on the model, output duration, resolution and inputs such as reference video. Try a shorter clip to check the shot before choosing a longer or higher-resolution version. The generator shows the cost before submission; credits are available through subscriptions or one-time packs.
A sharp image with the whole subject in frame, clear lighting and a simple background. JPG, PNG, WebP and HEIC are accepted. Blur and compression artifacts in a low-quality image carry into every frame of the video.
That depends on the selected model and settings. If Auto is available, it can use the source image as a framing reference; otherwise choose a supported ratio close to your image. Crop beforehand if needed and check the generated framing.
Yes. Choose the First & Last Frame scenario and upload two images; the model generates the motion between them. Keep subject, framing and lighting compatible across the two images, and describe the transition in the prompt.
You can upload portraits you have the rights to use, with consent from the people in them. Uploaded images go through content review: an image that fails review cannot be used, and a generation rejected by review returns its credits. The Acceptable Use Policy lists what is not allowed.
Image to video uses your picture as the first frame, so the clip opens on it. Reference to Video treats images as a description of how a subject looks and builds a new scene, angle or setting around it. Use the first when the shot is decided, the second when only the subject is.
No. Video generation requires an account and credits; signup bonuses and other credit offers can be used under their rules. The cost depends on model, duration and resolution and is shown before you submit.